 Timeline Visualizer
Google Timeline timelapse: turn your location history into an animated route video
A Google Timeline timelapse plays your recorded location history as an animated route video. Export Timeline.json or use geotagged photos, pick a period, and create an MP4 in your browser with nothing uploaded.
What a Timeline timelapse shows
A Timeline timelapse plays your recorded location history back in seconds: the camera follows the route, a trail builds up behind the moving marker, and the places you actually visited stay on the map. The finished file is a normal MP4, so you can watch it on a phone or computer, open it in an editor, or post it straight to a social feed. The map is drawn from the points your file records, so the video is a playback of your own data rather than a generic animation.
What you need before you start
You need either a Timeline export or a set of geotagged photos. On Android, export Timeline.json from device Settings rather than the Google Maps app: Settings → Location → Location services → Timeline → Export Timeline data. On iPhone, open Google Maps settings, choose Export Timeline data and save the result to Files. If the export is empty or missing the period you want, photos taken with location data can trace the same journey; on Android phones, browsers cannot read photo locations, so use the export there. Menu names vary by app version, so follow Google Help if your screen differs.
From export to MP4 in the browser
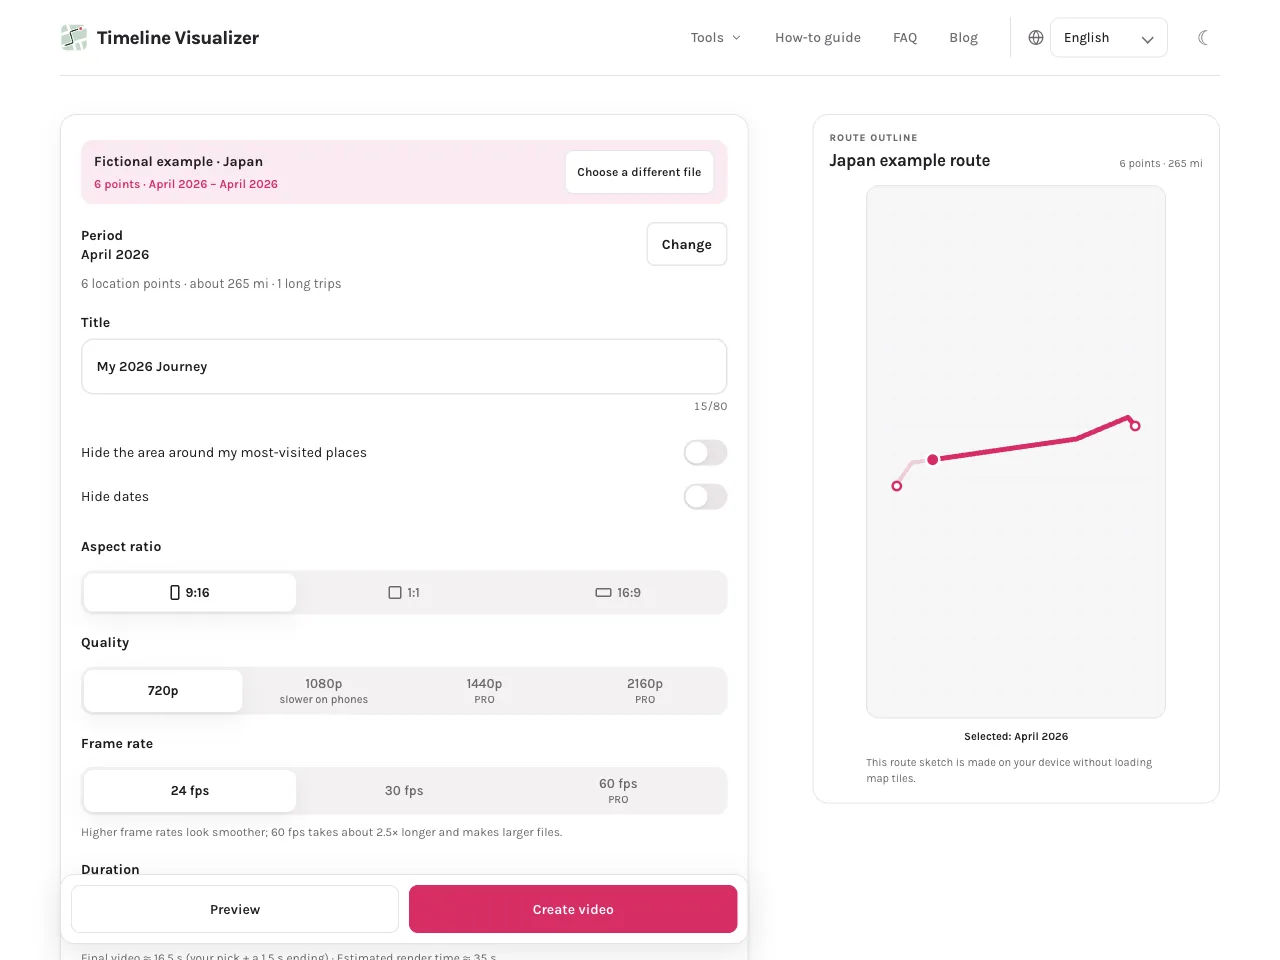
Open the home page (/) and choose your Timeline.json; on a computer you can also drag the file onto the page. The file is read in your browser and is never uploaded, and the tool shows the date range and the number of points it found. Select the period you want, then set the title, aspect ratio, resolution and duration. After you confirm the map notice, the only internet requests are map tiles for the areas in view: OpenFreeMap by default, or CARTO when the deployment is configured with a key.
Preview the route to check the opening, the journey itself and the ending, then select Create video and keep the tab open while the MP4 renders. Download the file and play it once before sharing it. If you want the same flow explained step by step, the guide at /blog/how-to-use-timeline-visualizer/ walks through everything from export to finished video.
Ideas for Reels, TikTok and Shorts
The aspect ratio buttons matter more than they look. Portrait 9:16 fills a phone screen, which is what Reels, TikTok and Shorts are built around; square 1:1 sits naturally in a photo feed, and 16:9 suits YouTube, a blog post or a larger screen. Formats that tend to work: one trip as a single clip, a whole year of travel compressed into one short video, a long journey across several countries, or a single memorable road-trip day. Keep the selected period tight enough that the map stays readable, and check the first seconds in the preview, because that is where viewers decide whether to keep watching.
Gaps and accuracy: the video follows your data
A Timeline timelapse is only as complete as the recording behind it. If location history was off, the phone was shut down, or an auto-delete setting removed older entries, those hours are not in the file and cannot appear in the video. Long gaps between recorded points are drawn as a single leg on the map, not as a reconstructed road. Check the preview before exporting, because it shows exactly the route the MP4 will follow. A short or nearly empty result usually means the selected period holds few points; widening the range or using photos from the trip can fill the story in.
Make a Timeline timelapse in four steps
- Choose the source: export Timeline.json from the phone that recorded the trip (on Android, from device Settings → Location → Location services → Timeline → Export Timeline data; on iPhone, from Google Maps settings), or pick geotagged photos if the export has no usable locations.
- Open the home page, choose the file or photos and select the journey period. A few days makes a good first timelapse; a whole year works once the flow feels familiar.
- Set the title, aspect ratio, resolution and duration, confirm the map notice, then preview the route from start to end.
- Select Create video, keep the page open until the MP4 is ready, then download and play the file before sharing. The source stays in your browser.
Questions
How do I make a Google Timeline timelapse?
Export Timeline.json from the phone that recorded the trip, open the home page and choose that file, select the period, then preview and create the MP4. Everything runs in your browser, and the finished video saves or shares like any other file.
Can I see a Timeline timelapse in Google Maps itself?
Google Maps can display your Timeline on a map, but it does not play it back as an animated video. The export is the starting point here: this site reads the same data and renders the timelapse as an MP4 that stays with you.
Can I make a timelapse of my journey with Google Maps data?
Yes, as long as the journey is inside the export. Pick a range that covers the whole trip, or exact dates for a short one, and the video follows the recorded points. If the trip is missing because of auto-delete or a device change, geotagged photos can be used instead.
Can I animate my Google Maps JSON file Timeline directly?
Yes. Timeline.json is the main input: choose it on the home page and the tool parses it locally, draws the route and renders the animation. There is no account and the file is not uploaded; the map tiles for the areas in view are the only network requests.
Try it in your browser
Timeline JSON, selected photos and optional audio are read on your device to create your video. This site does not receive those file contents.